I’m finally publishing this massive article on #CloudServer Setup. It took around two months to write down all these hyperlinked posts, create and edit video tutorials, and narrate the entire guide in a simple format.
If you’re willing to learn in and out of Cloud Server, please grab a coffee or something similar cause this will be long and helpful.
When I say cloud server, I mean the DigitalOcean Cloud Server, and I strongly recommend them. I’ve been with DigitalOcean for 9ish years now, and let me tell you that they-never-put-me-down.
Of course, many other companies can help spin up a cloud server; however, I feel DigitalOcean is best-in-class and scalable with excellent server hardware infrastructure. And, they are also known to be ‘Developers Favorite‘.
Finally, I want to Thank DigitalOcean for being amazing all these years! #ThankYouDO 🙂
Dramatic entrance, isn’t it? But frankly, I mean it!
Now let’s get started with our step-by-step guide —
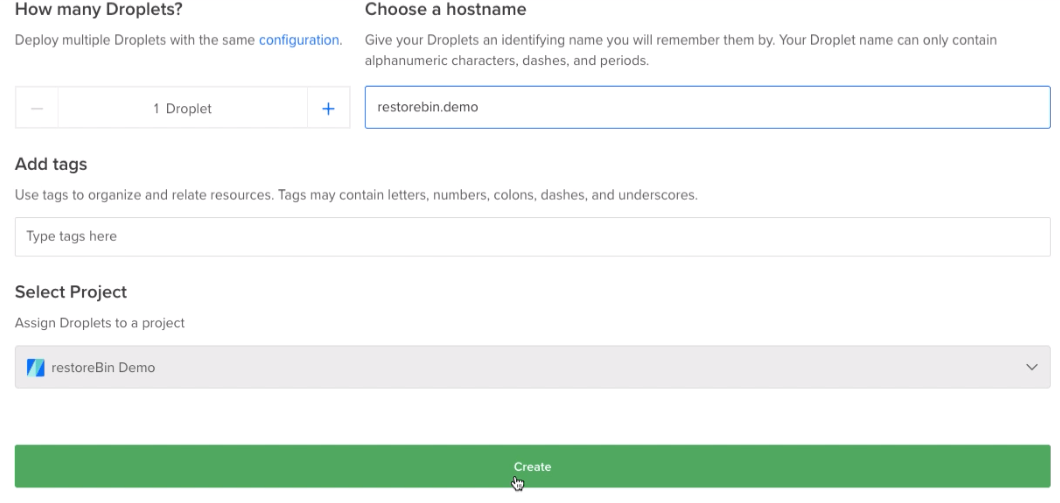
Create Ubuntu Cloud Server
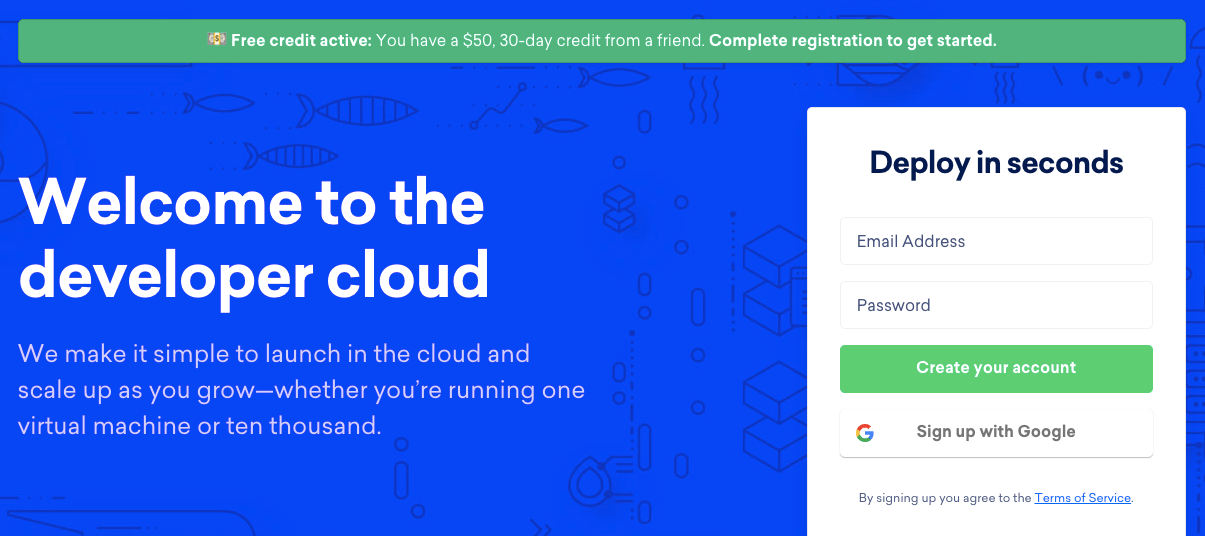
The first and foremost thing you need to create is a DigitalOcean account. Just signup using your existing email ID and password. You also have the option to sign up with Google SSO and GitHub Login.
Bonus: If you sign up using my DigitalOcean referral, you will get a $100 $200 credit valid for 60 days.
Please note that credits are only valid for new user registration.
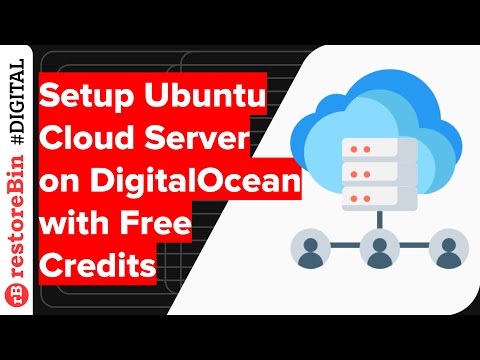
After completing your registration and filling in other details, spin a new and latest stable Ubuntu cloud server droplet.
You can follow this comprehensive guide to Creating Ubuntu Cloud Server and watch this video tutorial below.
In the article and video tutorial on creating ubuntu cloud in DigitalOcean, you will learn:
- What is DigitalOcean cloud, and how reliable is the service?
- How to register and get free DigitalOcean credits?
- Create a latest Ubuntu Cloud Server droplet
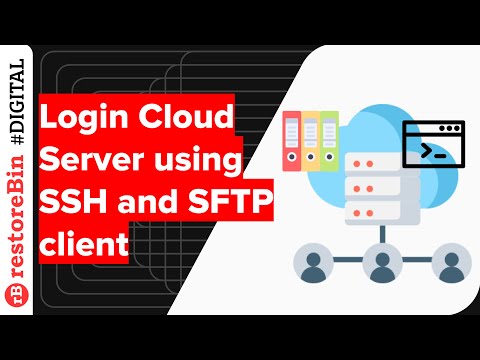
Login SSH and SFTP remotely
After creating a Ubuntu droplet, you will receive an email from DigitalOcean with first-time login information. Use the credentials to log in to your SSH and SFTP remotely.
SSH and SFTP give you full access to your cloud server as a super administrator. You will have root user access, considered the highest privilege in any Linux-based OS.
If you’re a Windows PC user, you can use the PuTTY client for SSH access. The macOS has an in-built terminal program that supports the remote connection option.
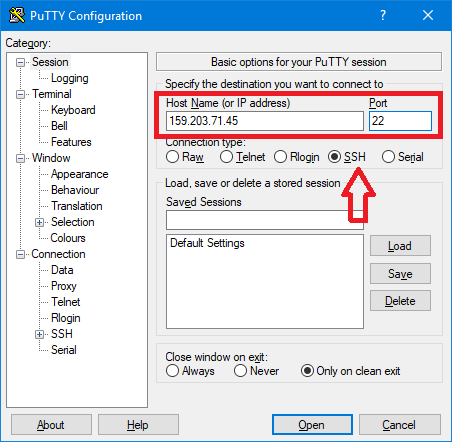
For SFTP, I prefer using the FileZilla client, which is available for all major operating systems, including macOS and Windows OS.
You can follow this guide to learn about Login SSH and SFTP remotely in detail and watch this video tutorial for visual guidance.
In the article and video demo about SSH and SFTP login, you will learn:
- What is SSH, and how to log in?
- Login into macOS and Windows
- What is SFTP?
- How to log in to SFTP using FileZilla?
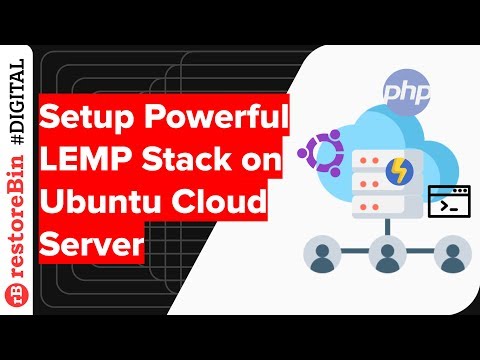
Install LEMP Stack
Now that you’ve learned how to access the cloud server using SSH and SFTP, we will start setting up the server for actual usage. I prefer the LEMP stack (built using the Nginx webserver) to LAMP Stack (built with the Apache webserver).
Both LEMP and LAMP are used for deploying web applications and programs. My favorite blogging software WordPress also needs either of these stacks to run smoothly.
Let’s start with installing and configuring the LEMP stack on the Ubuntu cloud server —
Installing and configuring the LEMP stack has a lot to do with SSH and SFTP clients; hence, make sure you keep these two handy. And it’s also recommended to use the latest available versions for all the LEMP (Linux, Nginx, MySQL, and PHP).
- Linux OS: Ubuntu is Linux based operating system distribution.
- Nginx Web Server: It’s the web server that helps in serving online requests. The web server helps in interacting with the external world.
- MySQL Database Server: The RDBMS database helps store and retrieve the data from the database tables.
- PHP Processor: The PHP processor helps in generating dynamic content using MySQL data.
You can follow this detailed guide for step-by-step LEMP Stack installation and configuration. I also have the video tutorial on LEMP Stack.
In the article and video demo about LEMP Stack setup, you’ll learn:
- What is LEMP Stack, and what is the difference from LAMP?
- How to install Nginx?
- How to install the MySQL database?
- How to install PHP for Processing?
- Configure Nginx for using the PHP processor
Once you’ve set up the LEMP Stack, you can proceed to install WordPress Blog or install Flarum Community software if you wish.
Postfix SMTP Relay with Gmail
Everyone needs a proper emailing system built inside the server. This emailing system helps send critical notifications and errors in case anything goes wrong within the server.
I recommend using the Postfix program as an SMTP relay server that works well with Gmail. At the same time, there are certain limitations in sending limits, bulk emailing, etc., but for primary usage, Gmail is a good option.
If you’re a Google Workspace user like me, then you can also use a custom domain, i.e. @domain-name.com, to send out emails that look more professional. It also has higher sending limits as well as better security. You can signup for a Google Workspace account with a 20% discount coupon on your annual purchase.
Follow these detailed steps on Postfix SMTP Relay with Gmail and watch this video tutorial for visualization.
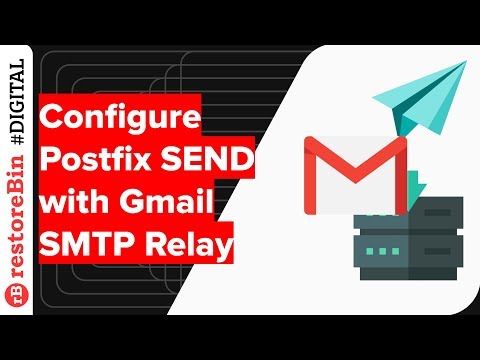
In the video demo and article about Postfix for Cloud Server using Gmail SMTP, you’ll learn:
- What is Postfix, and how to change the hostname
- How to install Postfix and configure it with Gmail SMTP
- How to send a test email in Postfix
- Changing the Full Display Name in Gmail and retesting sending
Let’s Encrypt Free SSL with Nginx
Everyone needs security, and so d the online website and blogs. Since Google has started considering the security certificate as a search engine ranking factor, many web admins have upgraded to a secured connection.
Let’s Encrypt is one of the secured connection certificate providers, and guess what? It’s free and forever. Unlike other premium SSL certificate provider who charges big money, LetsEncrypt provides the Secured Socket Layer certificate for free.
All you need is to install the program called certbot to help get the SSL certificate. The Certbot also helps auto-renewal every 90 days before the Let’s Encrypt certificate expires.
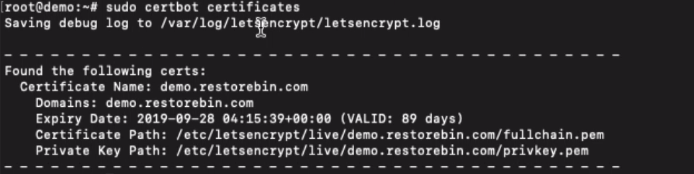
Head over to this detailed article on how to get a free SSL certificate from Let’s Encrypt, and you can also watch the below video tutorial on the certbot program.
In the article and video tutorial on LetsEncrypt Nginx SSL using Certbot, you’ll learn about:
- What is LetsEncrypt, and what pre-requisite for installation
- How to user install and configure Certbot for Let’s Encrypt
- Test SSL domain certificate
- Automatically renew the Let’s Encrypt certificate in Nginx
LEMP Stack Firewall using UFW
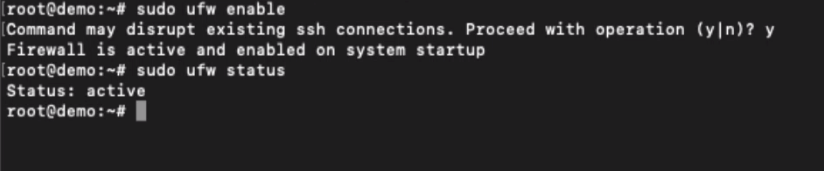
UFW is an acronym for the Uncomplicated Firewall and is the best firewall program built for Ubuntu cloud servers. Since most of the cloud server has only remote access, we should be very mindful of all the incoming and outgoing connection from the cloud server.
UFW makes the process quite simple using the iptables configuration for both IPv4 and IPv6 connections. Using the UFW firewall on Ubuntu, we can allow and deny connection to specific IP addresses and internal programs to connect to the external world.
You can follow this guide on the exact steps to install and configure the UFW on LEMP Cloud Server. Please watch this video tutorial for the exact step-by-step demo of configuring UFW.
In the article and video demo about UFW firewall setup, you’ll learn about:
- What is UFW, and how to install it in Ubuntu Cloud
- Enable support for IPv6
- Setup default policies for connection
- Allow connection for SSH/SFTP and Nginx
- How to enable and disable the UFW firewall
Improve Nginx Security with Snippet
We have already configured the SSL and added the UFW to strengthen our web server. Now let’s add some snippets that will further improve the overall security of our Nginx web server when serving the website requests.
By default, the Nginx is pre-configured to serve HTTP1 type protocol. However, we should upgrade the protocol to HTTP/2, which is faster and safer. We will tweak the Nginx configuration to serve all the requests with the HTTP/2 socket.
In this section, we will also adjust the security headers, strengthen the cipher, block some advanced hacking injections like cross-scripts, and add the trusted certificate in the Nginx file.
These complete changes will make our website and backend web server faster and more secure from infiltration. This will also improve the overall website rating in the SSLLabs test report.
Follow this detailed guide to enable HTTP/2 and improve Nginx security for the Cloud server. Here is the video tutorial on the same.
In the article and video guide about HTTP/2 and Nginx Security, you will learn:
- How to check the current web server protocol?
- How to enable HTTP/2 protocol support?
- Adding a Trusted Certificate in Nginx
- Adjusting Ciphers for a more robust SSL certificate
- Improving overall Nginx Security
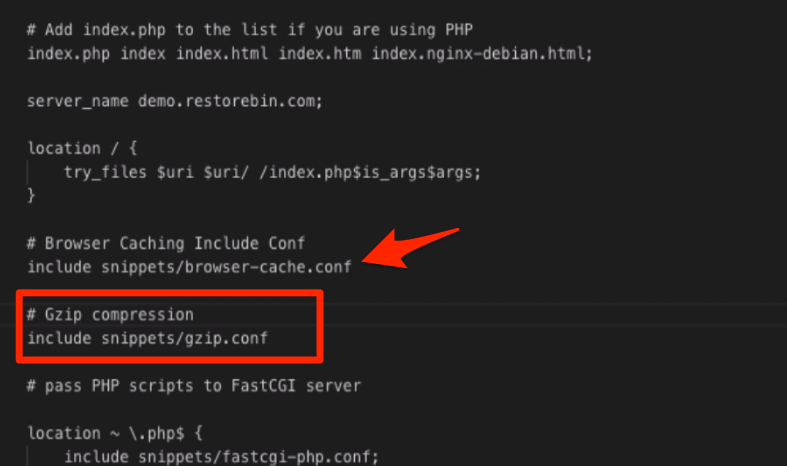
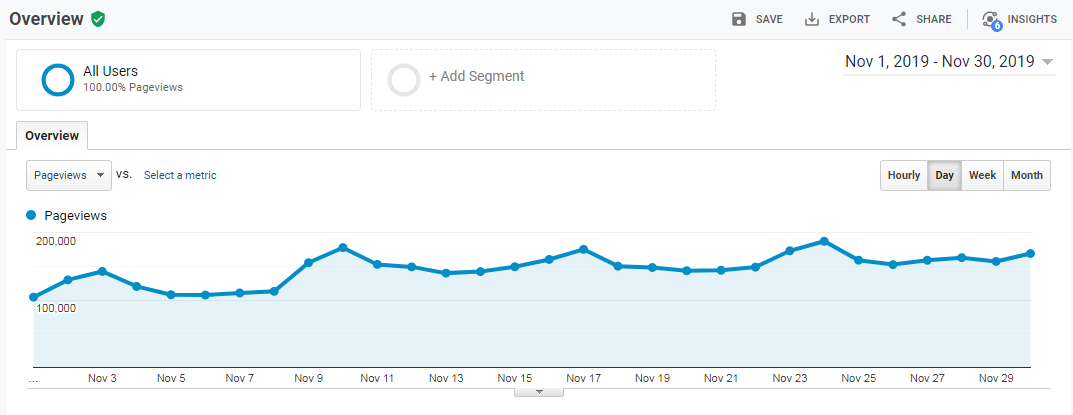
Nginx Browser Cache, Gzip Compress, and Expires
Caching techniques are often used to improve page speed. It reduces the loading time by caching the static files in the user-agents browser or sometimes on the server-side. It works pretty well if you have users who are frequent visitors or return regularly.
As mentioned, especially the browser cache technique is quite effective when loading the static assets of your website in a user’s browser. The files such as CSS, JS, images, etc., are stored in users’ browser storage, and the next time the same user visits our site, the file is retrieved from the storage cache instead of a live server. This improves the overall loading speed and thus the user experience.
The other technique is to enable the Gzip compression, which is somewhat similar to what we have on every machine – ZIP and Archive. This will compress the static files internally in the web server and serve uncompressed files in the browser. This technique significantly reduces website size and loads faster.
The expired headers help in defining caching validity. For most of the static asset which hardly gets changed, we set the expiration time as a maximum, maybe a year or two. Once the static files stored in Users browser cache surpass the valid date, the new files are served from the live web server instead of from local storage.
Enabling the browser cache, Gzip compression, and setting the expired headers is essential for site speed and impacts the website ranking in Google searches.
You can follow these steps mentioned to enable the browser cache and add the expire header in Nginx. You can also watch this video demo for visualization.
In the article and video demo about Nginx Browser Cache and Gzip compression, you will learn:
- How to enable Leverage Browser Cache in Nginx
- Gzip Compression in Nginx Webserver
Nginx Cache for Website Loading
By this step, we have already set up the caching internally in the backend with browser cache, expire headers, and gzip compression. We will now set up the frontend cache that helps to convert the dynamic content into static pages. We can achieve this using the Nginx Caching along with PHP-FPM.
Every time the user visits a particular page for the first time, a cache of that dynamic page is created and stored in the server as a static HTML file. Next time when the same or a different user visits the page, the cached static version of the page is served. This will eliminate the Nginx and PHP workload in regenerating the dynamic page at subsequent visits, thus improving overall server performance.
With Nginx cache enabled, we do not require setting up any caching plugin using WordPress or any web application that runs on a complete LEMP stack.
Follow these easy steps to enable the FastCGI Nginx Cache to improve overall speed. You can also follow the steps mentioned in this video guide.
In the extensive guide and video tutorial on Nginx FastCGI Cache, you will learn:
- How to setup FastCGI Cache configuration
- Including the FastCGI Cache rules in Nginx
- Adding FastCGI Nginx Cache path in the configuration file
- Define the FastCGI cache rules
- Restart and test the Nginx FastCGI cache
- Setup and clear Nginx Cache in WordPress
MySQL Redis Object Cache
If you’ve read the LEMP stack article, you might already know what MySQL is all about and how it is used. MySQL Redis Object cache helps in reducing the number of SQL query hits.
If you’re frequently running a set of complex MySQL queries, the Redis object cache will store the output of the query results in the cache. This will help reduce the MySQL server hits and serve the request faster.
Redis server will store all the complex SQL queries in the form of Objects; hence it’s called Object Caching.
Suppose you’re using the MySQL database for your web application or even WordPress. Then I recommend using Redis for Object Caching and improving the MySQL server performance.
Learn about installing the Redis Server and enabling Redis Object Cache in detail. You can also watch this video demo for details.
In the article and video guide about Redis Object Cache, you will learn:
- How to install Redis Server
- Configure Redis Server in Cloud
- Setup Redis Object Cache for WordPress
- Monitor the Redis Object Cache in CLI
Droplet Snapshot and Weekly Backup
DigitalOcean support two types of backup — Snapshot Image and Weekly Backup. Both work differently but can be used for the same backup purpose.
While there are certain advantages of using the snapshot unlocks many other options to perform on an image. But, you need to turn off the cloud server while taking a snapshot to maintain the data consistency, which is not feasible in most cases.
Whereas weekly droplet backups are automated every week and retain at least four back-ups in the droplet. You also have the option to convert the weekly backup into snapshot unlock additional actions.
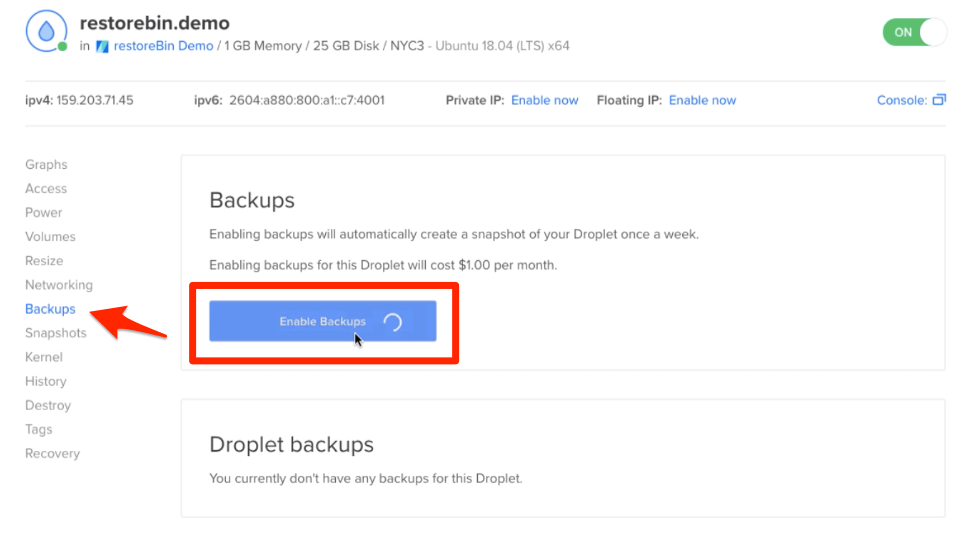
The charges for the snapshot are basically on the total storage space used, and DigitalOcean charges $0.05 per GB per month. On the other hand, the automated weekly backups are charged at 20% of the total droplet cost.
For example, a 1GB RAM droplet for which monthly pricing is $5 will be charged an additional $1 if you enable the weekly backup, which totals $6 monthly. I think this cost is nominal for maintaining and retaining the automated backups without any headaches.
You can watch the video demo below to enable the weekly backup and learn more about the snapshot. I’ve also written a detailed article on snapshots image and weekly backups in the DigitalOcean cloud.

In the article and video tutorial about DigitalOcean backup, you will learn:
- Enabling weekly droplet backup
- Power Off and take a snapshot image
- Convert DigitalOcean droplet into Snapshot image
Automatically Updating Cloud Server
We have done a fantastic job till now with setting up a cloud server, optimizing, and securing it. Now we will move into maintenance mode, where we can set up Ubuntu cloud server update and upgrade automatically.
We will use the CRON jobs feature to run the update, upgrade, auto-clean, and auto-remove commands in SSH at a predefined time interval. We can also set up a nightly reboot of the cloud server if required.
Follow simple steps that allow editing, and add the command line job in /etc/crontab file. This crontab file will perform all the commands mentioned at the set server time.
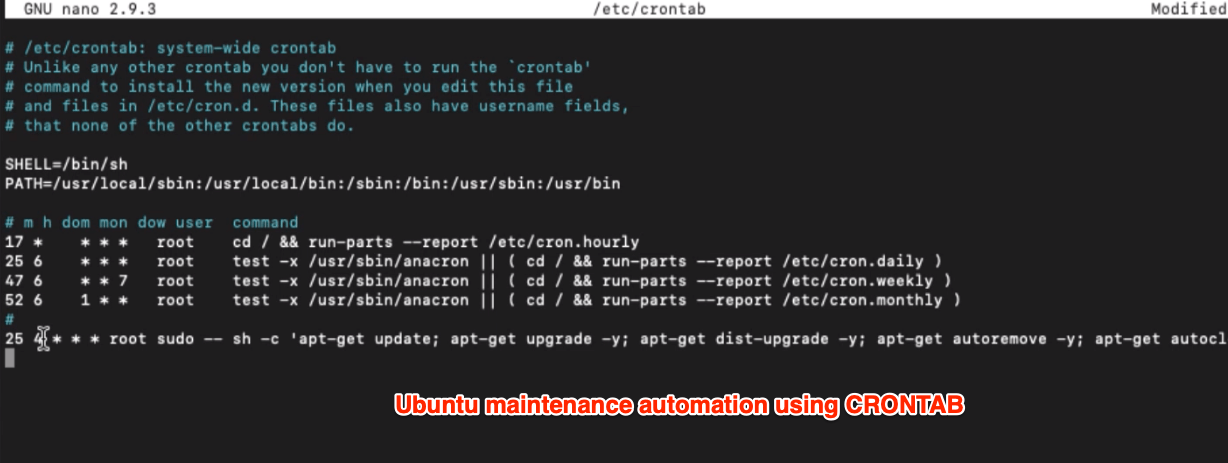
Learn here how to enable cloud server maintenance automation. You can watch this short and simple video tutorial to learn Ubuntu maintenance.
In the article about Ubuntu cloud maintenance automation and video tutorial, you will learn:
- Ubuntu command lines for maintenance
- Automating Ubuntu using the crontab file
- Scheduling the weekly reboot
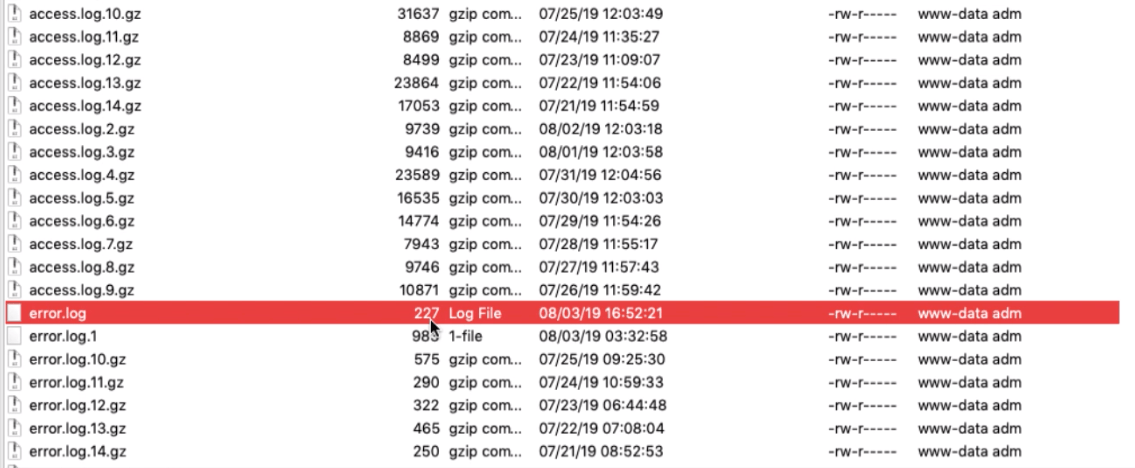
Error Log and Support for Cloud Server
If you face any issues or errors with the online website’s cloud server, you’ll probably have logs that record the exact issue. Each program you use (MySQL, PHP, Nginx, UFW, etc.) in the web server has separate error log files that are stored under the folder /var/log. There are also logs for authentication and access, which are recorded for each success or failure.
These error logs are beneficial for understanding what went wrong at the moment. Suppose you’re facing any issue with MySQL and receiving Error establishing a database connection. You can look into the MySQL error log file to find the exact issue and resolve it.
Most of the issues and solutions are found online after a search, and I always prefer the solution provided either in an official forum or the StackOverflow community.
There are certainly other ways that can help to tackle these errors, which are mentioned in detail. Check out the error log and support for the cloud server article for a comprehensive guide. The following video also covers the same.
In the article and video tutorial about error logs and troubleshooting cloud servers, you will learn:
- How to access error log files in Ubuntu Server?
- How to get support to troubleshoot the cloud server
- Using search engines
- Using support forum
- Raising the support ticket with DO
Closing comments:
And there we are, finally, to the conclusion. I hope you learned something new from this gigantic article. If you are interested in reading further then, check out:
Now it’s your turn to speak up —

Thank you for the knowledge.