Yes, you read it right! You can create your first Ubuntu Cloud Server for free using my friendly referral link on DigitalOcean. On registration, you will get a $50 $100 $200 free credit, valid for 30 60 days, and can be used against droplet expenses.
Sounds great, right?
Before we get started, I want to share that this article and the video added below are a part of the #CloudServer Series. In this series of content, I’m going to share some of the basic steps on how you can create and manage the unmanaged Ubuntu Server.
I’ll also share some optimizations, security, backup, and troubleshooting tips to maintain the Ubuntu Cloud Server smoothly.
I’ll be using the DigitalOcean Cloud for the demo, which has been my most trusted and reliable cloud server in the past few years.
Without further ado, let’s get started —
What is DigitalOcean Cloud?
The DigitalOcean is a cloud server and unmanaged VPS platform that helps you quickly create and deploy online servers without any hassle.
Their business is not only limited to the Cloud server but also recently scaled up into Managed Database, Kubernetes, and Object Storage.
One of the best things I like about DigitalOcean is its digestible tutorials and developer guides. There are so easy that even an 8th grader can understand them easily.
Their community forum is quite active with some of the best technically intelligent people.
How Reliable is DigitalOcean service?
Regarding reliability, I trust these guys 100% and have been using their cloud server for the last seven years. I’ve seen from the day they only had a VPS Cloud Server solution known as Droplets and now expanded their online business into multiple verticals.
They are the #1 choice for developers and beginners due to the ease of usage and technical stuff they write.
Honestly, I had a few issues with my droplet, primarily due to my misconfiguration. However, their technical support is swift and kind enough to resolve my queries in a day.
Skip to the article end to get the free DigitalOcean credits link.
Register and get Free DigitalOcean Credits
The registration process is straightforward and easy with Google Single Sign-On (SSO) option. It’s very typical like any other online account registration.
Follow the steps to register a DigitalOcean Account:
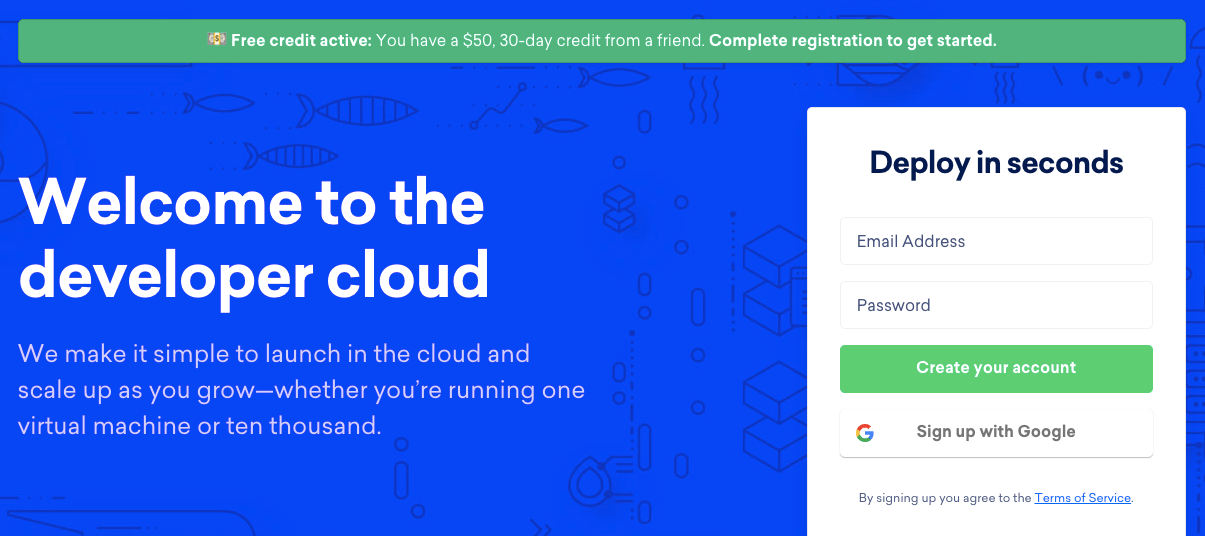
- Click on this Free DigitalOcean credit link to activate the deal – this will redirect you to the DigitalOcean registration page
- Sign up with a Google account OR any Email Address and Password on the registration page
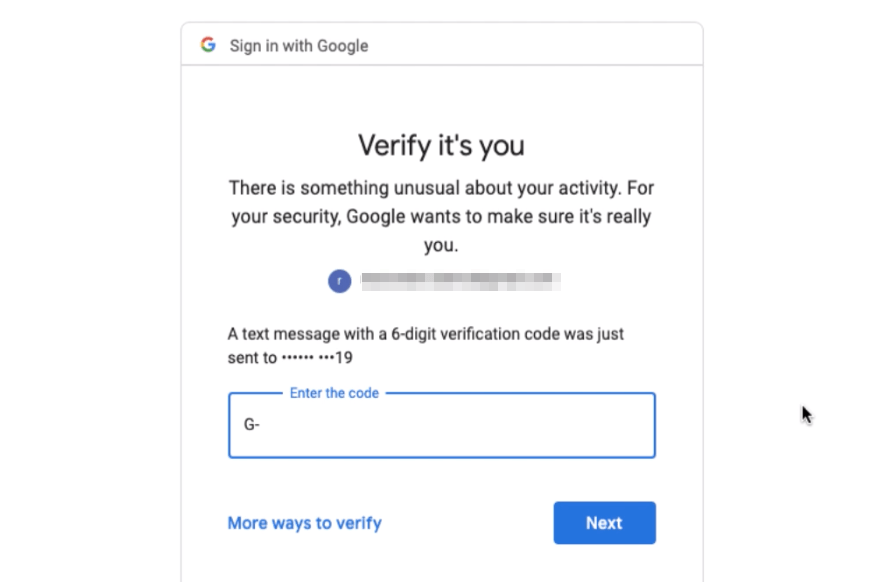
- If you’re using Google sign up, then, Allow & Verify DigitalOcean to read your account details

- If signing up with an Email Address and Password, click the link received in your mailbox to verify your email address
- On registration, you’ll be asked to provide the billing details – either a Credit Card or PayPal


- In the case of a Credit Card – DigitalOcean will authenticate the billing details by deducting $5 which will be refunded immediately.
- While it will add a $5 Amount deducted from PayPal integration to your Credit Balance
- Once the billing details are set up, you’ll be redirected to the Welcome Page requesting the project name, purpose, and other details about your usage and organization – fill in as requested and hit the Save button.
- Finally, you’ll be redirected to the DigitalOcean Cloud Console
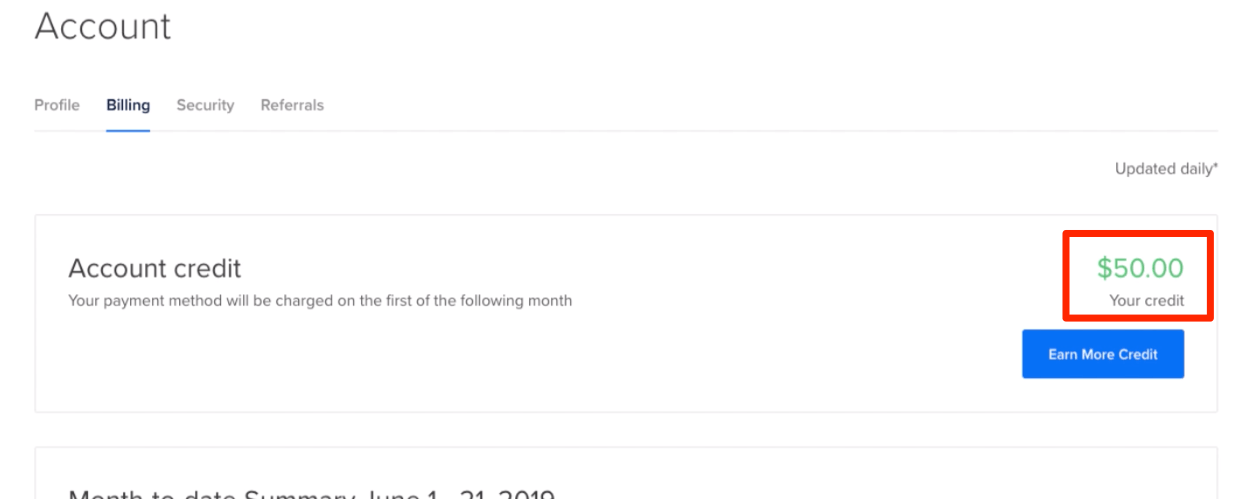
You’ve now successfully registered your DigitalOcean account and received a $50 $100 $200 credit, valid for the next 30 60 days. Click on the USAGE or Billing link to verify the credit amount.
Create the First Ubuntu Cloud Server droplet
Since you are already logged into the DigitalOcean cloud console and verified the $200 credit, let’s move ahead with creating your first Ubuntu Cloud Server droplet.
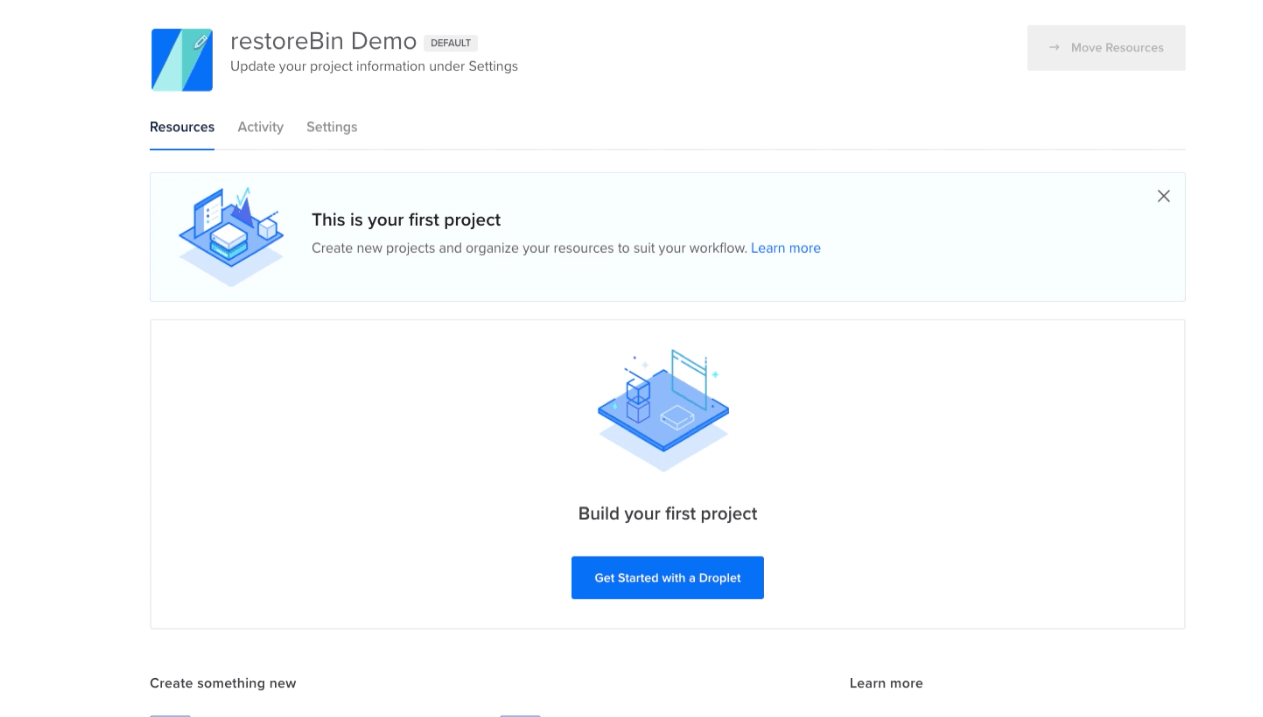
- Select the Project Name from the left sidebar
- Within the Project Pane, hit on Get Started with a Droplet
- Next, Choose an Image; select the default, i.e., Ubuntu 22.04 x64


- Next, choose a plan; since we are starting at a low budget and want to run the droplet for a long; wisely choose the lowest plan from the list – I’ve selected the Starter Plan of $5/mo
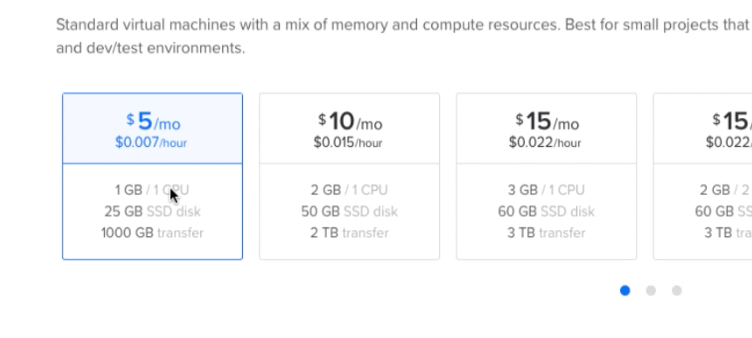

- Pricing: $5 per month
- CPU: Virtual single core
- RAM: 1 GB
- Disk Space: 25 GB SSD
- Bandwidth: 1 TB outbound transfer
- Next, Add Backup; enabling backup is optional; however, we will cover this in the future once we are all set with the Ubuntu Cloud Server setup.
- Next, Add block Storage; this option helps add additional storage space apart from the 25 GB available in the plan – not required for now.
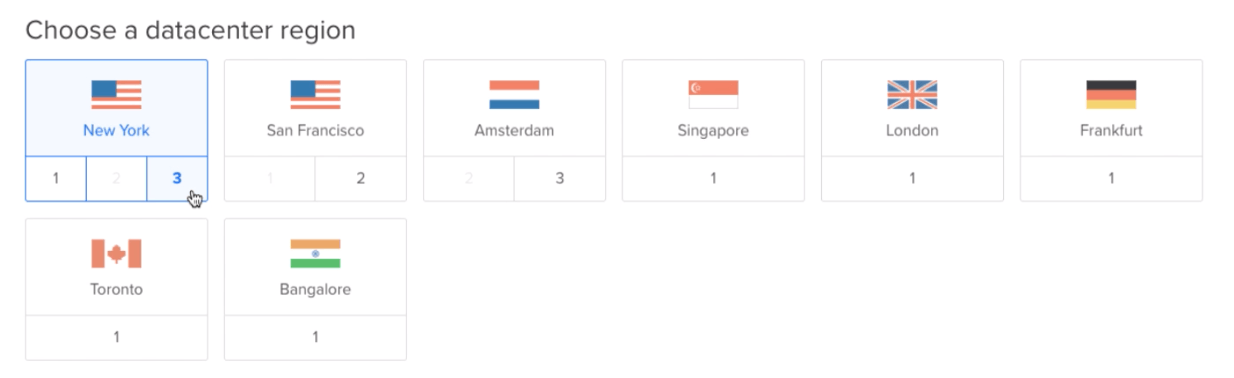
- Next, Choose a Datacenter Region; based on your target site or blog location, choose the nearest data center region. For example, if your target location is in North America, select New York or San Francisco.

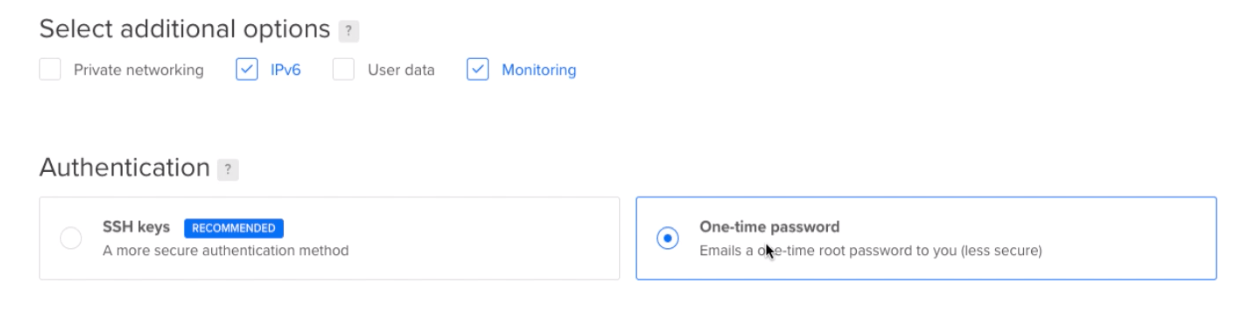
- Next, Select Additional Option, and enable IPv6 support and Droplet Monitor.
- Next, in Authentication, I choose the One-time Password option to receive the root login details in the mailbox.

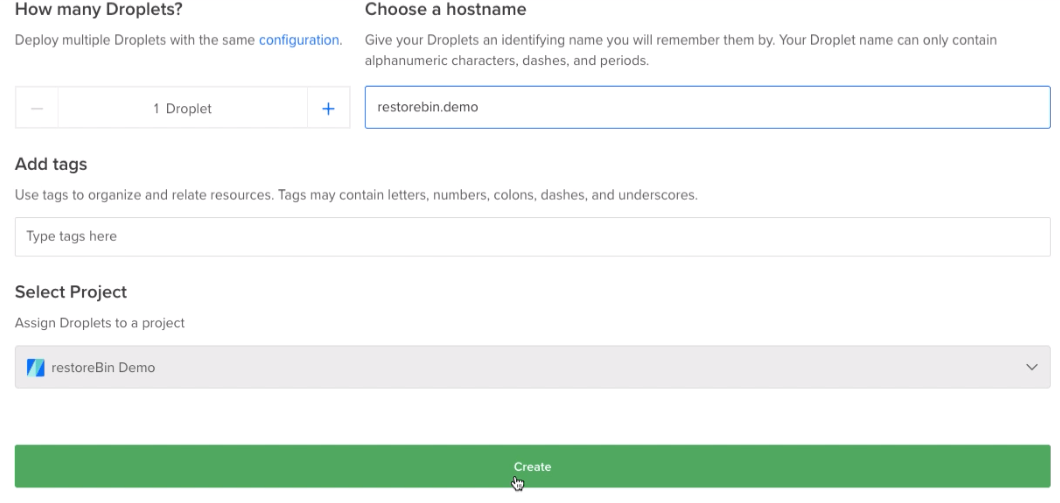
- Next, How many droplets? – Leave it to default value 1
- Next, Choose a Hostname; enter the desired hostname – I entered restorebin.demo
- Next, Add Tags; optional unless you have a large number of droplets to organize and identify
- Next, Select Project; since we are creating the droplet within the project, this option will be a default and greyed out for selection
- Finally, hit on Create button to spin your droplet
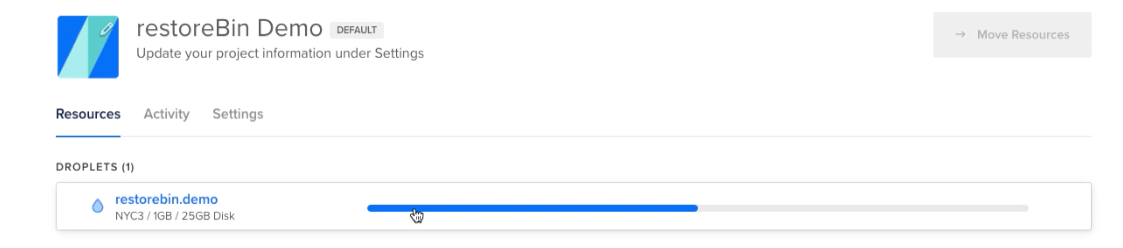
It will create the droplet within a minute, and you’ll be able to see the progress bar in the DigitalOcean Cloud console. Once the droplet creation is completed, you’ll receive an email with one-time root login and password details.
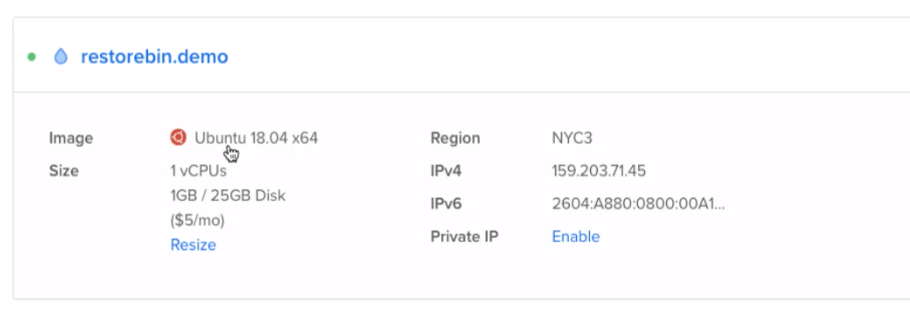
You’ll also be assigned a dedicated IP address for your Ubuntu Cloud Server, which we can assign to a domain name in the DNS setting.
Watch the Video Demo
While it’s easy to read and follow the exact steps mentioned in the above sections, a video would help you understand even better.
Watch the video below on how I signed up for free credits and created my first Linux Ubuntu Server on DigitalOcean Cloud.
I hope you liked the video; please subscribe to our channels for the following videos.
What’s next in the #CloudServer Series?
Suppose you’ve learned and completed all the steps for creating a Ubuntu Cloud Server on DigitalOcean. Next, we will see how to log in via SSH and SFTP client for Ubuntu Server?
By the way, click on the below button to get free DigitalOcean credits on registration.