I always wish there was a mentor who guided me to start the WordPress blog when I was in college. I used to waste my time on social sites and watch some stupid series. But gone are those days.
If you’re starting with new WordPress blogging, then this guide you to maximize your effort and start a blog from scratch with absolutely no knowledge. This guide is not about how to write and what to write, but also about how to set up that can sustain throughout.
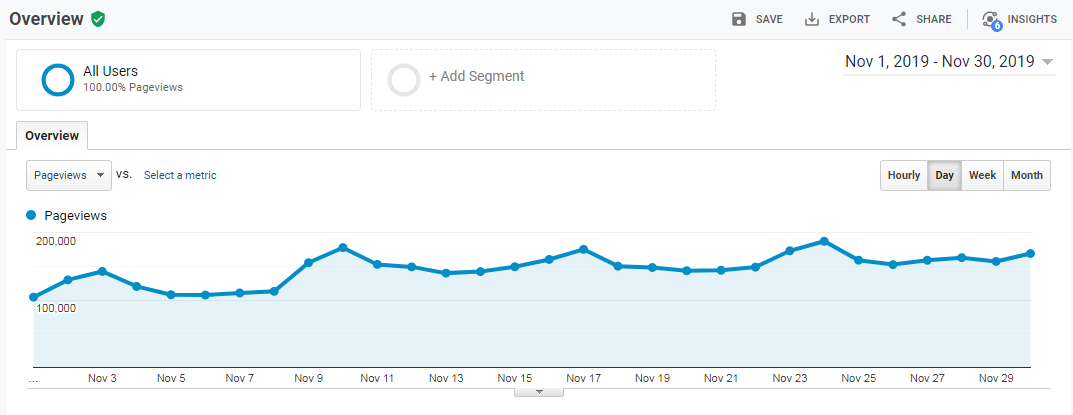
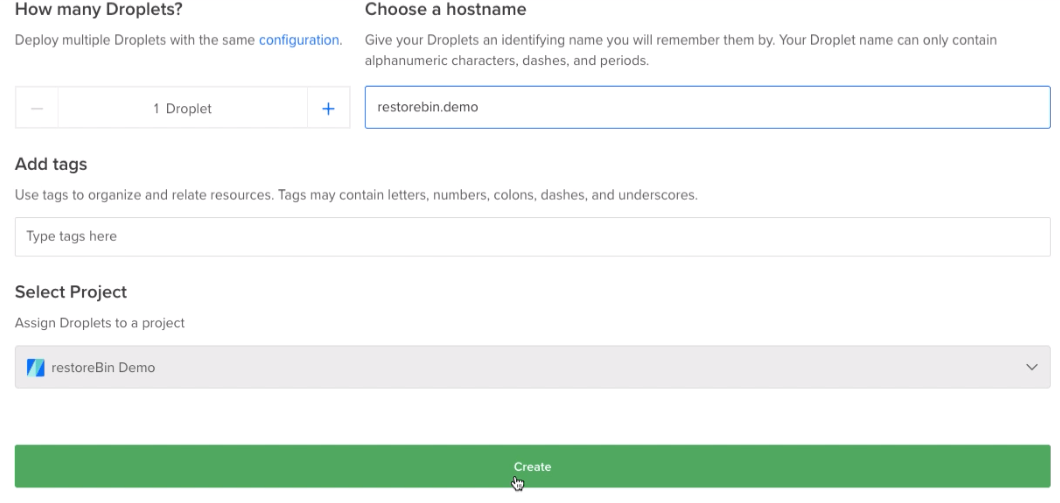
Once you watch the videos and simultaneously build the blog on the DigitalOcean cloud server at a meager cost, I can guarantee you that even if you receive millions of page views in a month, the starter server cost of $5 will not go up. The server will run as smoothly as it was on day one.
Head over and get started with this ultimate guide to begin the WordPress blog —
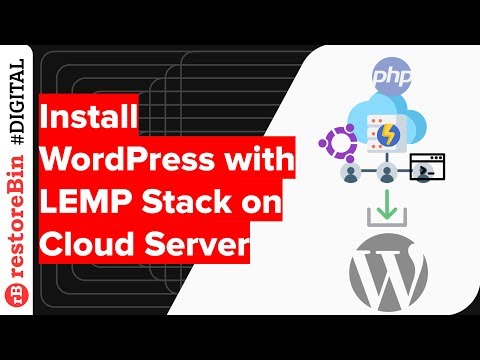
Install a WordPress Blog with LEMP Stack
I believe the LEMP stack is more potent than any other stack. You can follow this simple guide to install and set up the LEMP stack on the Cloud server. Once the LEMP is ready, we can proceed with downloading WordPress and installing it on LEMP.
Talking about installation and setup, WordPress needs the entire LEMP stack to run smoothly.
- MySQL for Database Management, where we will create a MySQL database table and a user for WordPress
- PHP for generating the dynamic content
- Nginx is a web server connecting MySQL and PHP to serve dynamic content when requested.
- Linux (Ubuntu) Server, which hosts all the programs
We must also set up a domain name to listen to our cloud server IP address. For that, we need to adjust the Nginx configuration file.
In the article and video tutorial about WordPress on LEMP Stack, you’ll learn about:
- How to setup registrar DNS to point domain toward IP address
- Creating a MySQL database for WordPress
- Configure Nginx for Domain and WordPress
- Download WordPress on Cloud Server
- Install WordPress blog on Server
We will also be setting up the admin credentials during installation.
Login WordPress and Preliminary Settings
Once you’ve installed WordPress, log in with the administrator login. It will take you to the WP dashboard, which has multiple tabs and sub-menus. Each menu has a separate setup and function.
Here we will walk through the dashboard overview and get accustomed to WordPress. There are also some mandatory settings that we need to do.
WordPress is preinstalled with multiple dummy data as well as default settings. These are not very friendly; making these preliminary changes at the start is quite important.
In the article and video guide about WordPress login and primary settings, you’ll learn more about:
- WordPress Login for First Time
- WordPress Dashboard walk-through
- Mandatory Settings after WordPress login
Adjusting WordPress Appearance
Now that we have learned about the WordPress dashboard let’s adjust the WordPress appearance. WordPress is built on Plugins and Theme architecture, making it highly customizable and developer-friendly.
We can change the WordPress themes, adjust the colors, and create our theme. WordPress also allows developing the parent and child theme set up, making the development relatively easy without touching the parent framework.
Regarding Appearance, in the WordPress blog, we can add the menu navigation bar in the header, sidebar, and footer. It depends upon the structure of the theme. We can add or remove any navigational links from the menus.
The Widgets is another excellent feature that helps add small blocks to the sidebar or footer. Few themes do have powerful widgets that help WordPress blogs look stunning.

In the article and video demo about adjusting WordPress appearance, you’ll learn about:
- How to change WordPress themes
- Adding Menu links in the WP header
- Add and remove Sidebar Widgets
- WordPress Customize Appearance
Install WordPress Plugins and Setup
As mentioned, WordPress is built on themes and plugin architecture. The plugins are quite a powerful way to add the function missing in WordPress Blog. There are plugins almost for every need that you want WordPress to behave.
I’ve listed a few of the essential plugins needed for WordPress to perform best. I use WordPress for blogging, and these essential plugins are helpful in every case.
There are also a few advanced plugins listed that you should consider adding to enhance the WordPress power. I’ve covered all the essential plugins and mentioned the advanced plugins in detail.
In the article and video tutorial on WordPress Plugins and essential setup guide, you’ll get to know about:
- WordPress essential Plugins list and setup
- WordPress advanced plugins and features
WordPress Security with Fail2Ban
No person on the planet what his online business or account to be hacked. Everyone needs to protect their data and website from theft. Hence, we have a Fail2ban program that works as a shield for any brute force attacks.
Fail2ban is one of the advanced WordPress plugins that help tackle unauthorized login attempts. It helps ban the IP address and protects from the DoSS attack. Fail2ban not only works with WordPress blogs but also on the entire cloud server.
You can set up the filters and jails to protect your WordPress site. You can customize the ban time and criteria with the jail.
Fail2ban is a must-have plugin and program for every WordPress and cloud server.
In the blog post and video guide on WordPress Fail2Ban plugin setup, you’ll learn about:
- Install Fail2ban on Cloud and WordPress
- Setup Filters and Jails
- Customize the Jail for WordPress
FastCGI Nginx Cache for Site Speed
Nginx is a pretty robust web server that can help generate static files out of dynamic content. Nginx, along with PHP FastCGI, works as caching technology.
Whenever a user has visited any blog post, the cache file is generated in a folder. Later if any user visits the same page, the cached file is served instead of retrieving the dynamic content.
Hence, this improves the overall page loading speed and reduces the server load.
In the following article about FastCGI Nginx Cache, you’ll get to learn about:
- Create FastCGI Cache configuration
- Include FastCGI Nginx Cache rules in the Configuration file
- Adding FastCGI Nginx Cache path
- Define FastCGI Nginx Cache Rules
- Test and Restart Nginx Cache on Live site
MySQL hits with Redis Object Cache
You might know WordPress needs a database to interact, store all the information, and post details. Hence, there are widespread calls between the MySQL database and Web server to generate dynamic content on the fly. This severely increases the load on the MySQL server.
Suppose you have a high-traffic site and imagine millions of SQL requests hitting the database server. This would lead to fatigue and database connection errors. Hence we need an object cache that will essentially store the frequently requested database calls and avoid all the requests hitting the MySQL server.
The Redis Object Cache is one of the most used object caching servers to eliminate most of the issues and quickly serve the dynamic content request.
In the detailed article about Redis Object Cache for WordPress, you’ll learn about:
- Install Redis Server on Cloud
- Configure Redis server
- Setup Redis Object Cache for WordPress
- Monitoring Redis Object Cache
MySQL Database Optimization
Now that we know the importance of Database in WordPress and made the database queries faster using Redis object cache let’s go ahead and set up the automated way of database optimization.
Optimization includes cleaning up, removing obsolete data, fragmenting the space, and improving performance. In the case of WordPress, I pretty much like this popular plugin called WP-Optimize.
The plugins do all the job of optimization and have recently added a few additional features like image optimization and even caching. I use it for image optimization and database clean-up activity. The FastCGI Nginx cache well manages the caching part.
Setting up the WP-Optimize is simple and easy. It also has the scheduling option that helps clean up the database at set intervals.

In the optimization guide and video demo about WP Optimize MySQL database, you will learn about:
- Install WP-Optimize Plugin in WordPress
- Database Optimize and Clean up
- Image Optimization Setup
- Scheduling the auto database clean-up in WordPress
Free Image CDN for WordPress
This is the best part. I hope you know about the JetPack Photon (aka Site Accelerator). However, to use the photon, you need to install the heavy JetPack plugin and register with your WordPress.com account.
This photon or site accelerator will replace the image URL example.com/image.png and host them via WordPress CDN server with {i0|i1|i2}.wp.com/example.com/image.png. Hence, this will overall save the bandwidth used by hosted images and also server them in .webp format.
But, using my technique, you can still host the images on the WP.com CDN server and get all the benefits without using the JetPack plugin. However, we need a lighter plugin called CDN Enabler that will replace the URL structure of images.
In the speed optimization guide and video tutorial to get free WordPress Image CDN, you’ll learn to know about:
- What is Jetpack Photon CDN?
- Install and Setup CDN Enabler for Images
- Upload and test free Image CDN on WordPress
Free CSS and JS static CDN
This is another sweet spot in WordPress optimization that will serve all the CSS and JavaScript files from the Free CDN server. All you need is to install a plugin called NGT jsDelivr CDN.
This extension will automatically replace all the CSS and JS files loading in your themes and plugins with the cdn.jsdeliver.net CDN. There is no settings panel or any customization tweaks. You only need to download > install > activate the NGT jsDelivr CDN from the WordPress repository.
Please note that it only supports themes and plugins installed from the WordPress repository. The extensions bought from external sources are not supported.
In the optimization guide and video guide to setup free CSS and JS static CDN, you’ll learn about:
- What is jsDelivr CDN?
- Installing WP Plugin for jsDelivr
- Testing Free CSS and JS CDN
Note: If you club both Free Image CDN and CSS/JS CDN, your WordPress blog loads blazingly fast without any issues.
Google Analytics Tracking Code
We all must agree that Google Analytics is one of the best tools for tracking the site’s performance or mobile app. Google Analytics works seamlessly with WordPress integration if the tracking code is placed correctly.
All you need is to set up a free Google Analytics account and get the tracking code that needs to be inserted between WordPress blogs <head>...</head> tag.
Google Analytics helps you understand what the users are doing on your site and how they get to know your blog.
In the WordPress stats and video guide about Google Analytics tracking setup, you’ll learn about:
- How to Sign up free Google Analytics account
- Get Google Analytics Tracking Code
- Insert the GA Tracking Code
- Clear cache and real-time test visitor
WordPress SEO with Rank Math
SEO is a vast topic and also needs expertise in all senses. It requires considerable technical and non-technical knowledge that every beginner will take years to master. Thankfully, few WP plugins make the technical SEO implementation relatively easy.
In the past, I used the popular WordPress SEO plugin known as Yoast SEO. However, I switched to Rank Math SEO and still using it. The reason behind the switch was feature availability. The Rank Math SEO plugin offers all the features being charged by Yoast SEO as Premium.
I’m not saying the Yoast SEO (free) is wrong, but it lacks the features I desperately need, and Rank Math provides at no cost. And I didn’t see any significant flaw in the Rank Math or even a drop in SEO after migration.
In the SEO guide and video tutorial about Rank Math WordPress SEO setup, you’ll get to know about:
- Installing Rank Math Plugin in WordPress
- Dashboard and Wizard walk-through
- General ON-page SEO settings
- Titles and Meta Settings
- XML Sitemap settings
- 404 and redirection monitor
- Site-wide WordPress SEO analysis
Remote Backup for WordPress Blog
Backup is vital in keeping your mind stable if anything goes wrong with the blog. If you’re running the WordPress blog on the DigitalOcean, you can enable the weekly backup that will charge 20% of the droplet cost. But, these backups are stored within the DigitalOcean account and still contain the risk.
Hence, I strongly recommend having a regular backup of your WordPress blog remotely on any external drive. Drive like Dropbox, Google Drive, Microsoft OneDrive, etc.
To ease the process, we have a free plugin in the WordPress repository called WPvivid Backup. The plugin has all the features, including the scheduled backup based on your requirement. It can remotely sync and retain the files in the storage account.
Follow this WordPress backup guide and video demo about WordPress remote cloud backup; you’ll learn about:
- Install the WPvivid Backup plugin
- Configure Off-site remote backup
- Scheduling an auto-backup for the WordPress site
- Test a Manual backup on Google Drive
Bottom Line: WordPress Setup
I hope you’ve learned some interesting stuff today, and also hoping that you will implement a few tips on your WordPress Blog.
If you want to learn more, then head over to our other comprehensive guides I wrote:
Turning over to you —
Let me know in below comment box below what you liked the most and any thoughts or tips you want to share.