Website speed is an essential factor for ranking our website in search engines. While there are multiple ways to optimize the loading speed, we will be focusing on two essential factors: Browser cache and Gzip compression.
Unlike other caching techniques, browser cache helps to cache the static files of our website or blog in the user browser. At the same time, the Gzip will help compress the file size and load the files faster.
In this article, we will cover how to enable and leverage browser cache with Nginx and enable the Gzip compression at the server-side to reduce the overall file size.
If you’re following us, this is the eighth article and video in the #CloudServer series. I previously posted about the HTTP2 protocol & Nginx Security snippets.
Let’s dive into enabling browser cache and gzip compression —
Enable Leverage Browser Cache in Nginx
We will use the Nginx configuration file to add this browser caching capability. The Nginx is a powerful web server that helps dynamic cache content as a static page to a user.
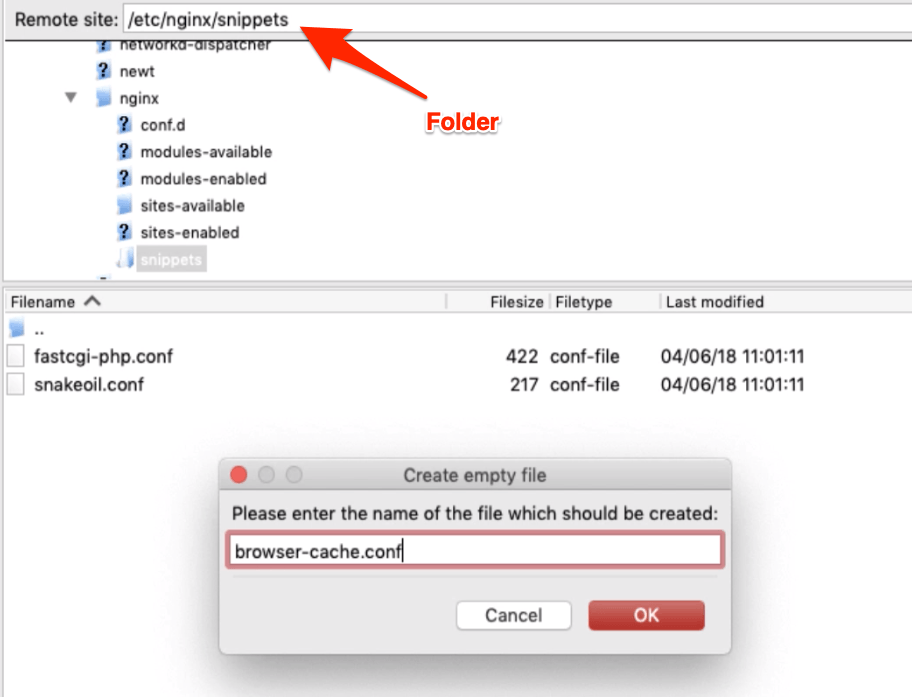
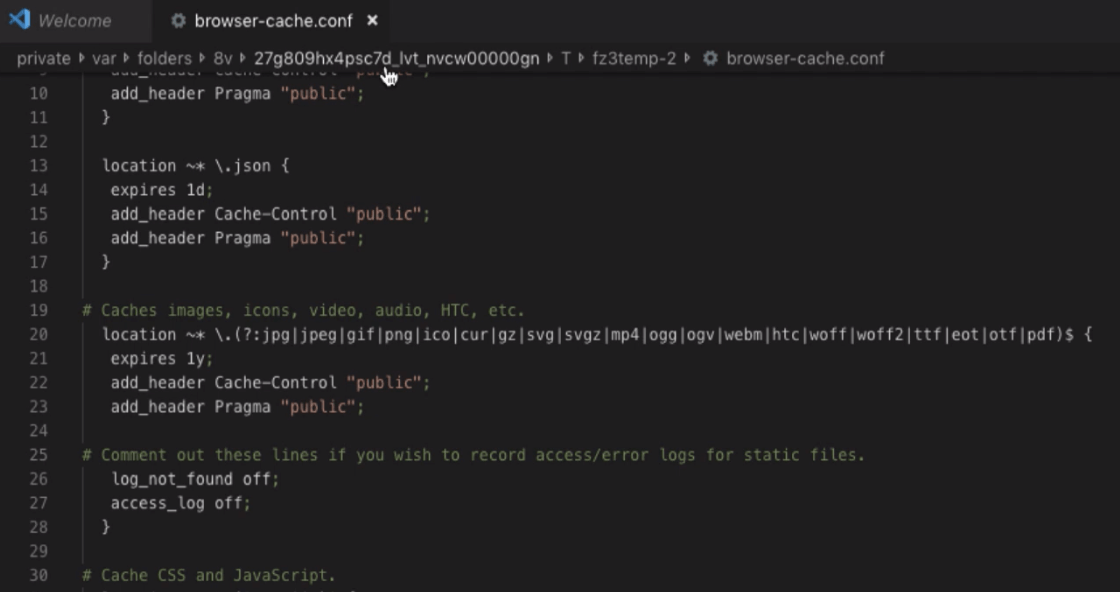
Let’s create a file name browser-cache.conf under the /etc/nginx/snippets/ directory and paste below snippet in the same.
# Don't cache appcache, document html and data.
  location ~* \.(?:manifest|appcache|html?|xml)$ {
  expires -1;
  }
# Cache RSS and Atom feeds.
  location ~* \.(?:rss|atom)$ {
   expires 1d;
   add_header Cache-Control "public";
   add_header Pragma "public";
  }
  location ~* \.json {
   expires 1d;
   add_header Cache-Control "public";
   add_header Pragma "public";
  }
# Caches images, icons, video, audio, HTC, etc.
  location ~* \.(?:jpg|jpeg|gif|png|ico|cur|gz|svg|svgz|mp4|ogg|ogv|webm|htc|woff|woff2|ttf|eot|otf|pdf)$ {
   expires 1y;
   add_header Cache-Control "public";
   add_header Pragma "public";
# Comment out these lines if you wish to record access/error logs for static files.
   log_not_found off;
   access_log off;
  }
# Cache CSS and JavaScript.
  location ~* \.(?:css|js)$ {
   expires 1y;
   add_header Cache-Control "public";
   add_header Pragma "public";
   access_log off;
  }
  location ~* \?sccss {
   expires 1y;
   add_header Cache-Control "public";
   add_header Pragma "public";
   access_log off;
  }
# Don't record access/error logs for robots.txt.
  location = /robots.txt {
   log_not_found off;
   access_log off;
  }
Next, we will include this call snippet in our /etc/nginx/sites-available/default virtual host nginx configuration file under server { ... } block.
include snippets/browser-cache.conf;
We have now defined the age of the browser caching the static files for maximum time. Next, we will enable Gzip compression to compress the files, which will improve the load time.
Gzip Compression in Nginx Web Server
Now that we have added the expire header for Nginx to leverage the browser caching, let’s add Gzip compression rules.
Gzip compression works precisely like the file compression in our system. It will help reduce the file size of the webpage and static content. This will enhance the website files to load faster from the webserver to the client browser.
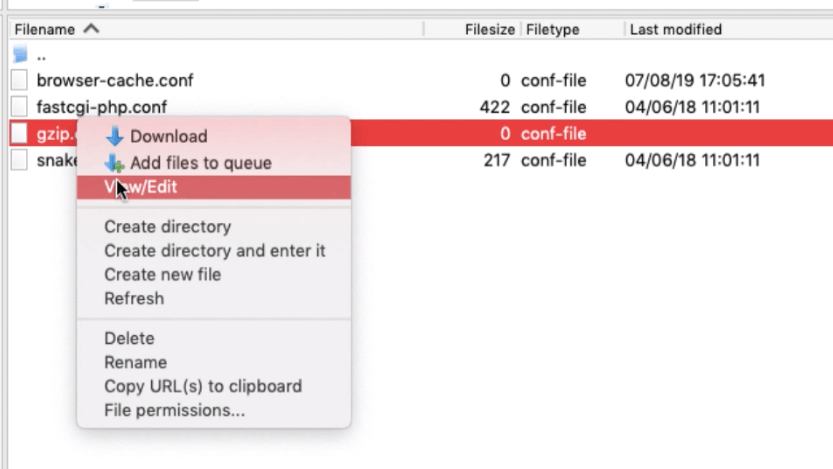
Just like the browser-cache.conf file, lets add the another file name gzip.conf under the same folder structure /etc/nginx/snippets/.
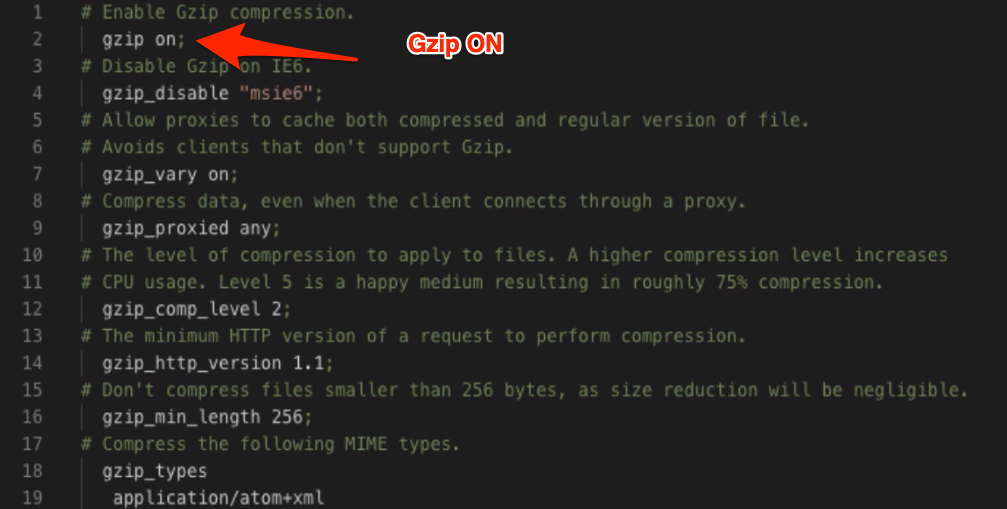
# Enable Gzip compression.
  gzip on;
# Disable Gzip on IE6.
  gzip_disable "msie6";
# Allow proxies to cache both compressed and regular version of file.
# Avoids clients that don't support Gzip.
  gzip_vary on;
# Compress data, even when the client connects through a proxy.
  gzip_proxied any;
# The level of compression to apply to files. A higher compression level increases
# CPU usage. Level 5 is a happy medium resulting in roughly 75% compression.
  gzip_comp_level 2;
# The minimum HTTP version of a request to perform compression.
  gzip_http_version 1.1;
# Don't compress files smaller than 256 bytes, as size reduction will be negligible.
  gzip_min_length 256;
# Compress the following MIME types.
  gzip_types
   application/atom+xml
   application/javascript
   application/x-javascript
   application/json
   application/ld+json
   application/manifest+json
   application/rss+xml
   application/vnd.geo+json
   application/vnd.ms-fontobject
   application/x-font-ttf
   application/x-font-woff
   application/x-web-app-manifest+json
   application/xhtml+xml
   application/xml
   font/opentype
   image/bmp
   image/svg+xml
   image/x-icon
   text/cache-manifest
   text/css
   text/plain
   text/vcard
   text/vnd.rim.location.xloc
   text/vtt
   text/x-component
   text/x-cross-domain-policy
   text/javascript;
# text/html is always compressed when enabled.
Save and close the gzip.conf file and move to virtual host default. Just like we have included the browser caching configuration, define this file under the same server { ... } block directive.
include snippets/gzip.conf;
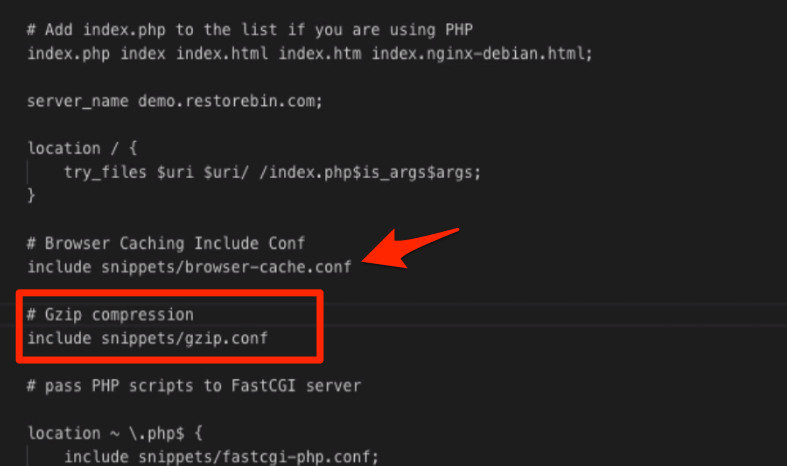
That’s it; you can now close the configuration file and restart the Nginx Web server to make the changes live.
Use the below command to test the above changes of Nginx configurations via SSH.
nginx -t
And finally, restart the Nginx using the below command
sudo service nginx restart

Video of Browser Cache and Gzip Compression
Watch how to enable leverage browser caching and also gzip compression for static files in the Nginx web server.
I hope you liked the video; please subscribe to our YouTube channel.
What’s next in the #CloudServer series?
Now that you’ve learned about browser cache and Gzip compression, next we will set up the server-side caching using Nginx FastCGI Cache. Nginx Caching is the best technique to compress and serve the dynamic content as a static HTML file with a negligible load on PHP and MySQL servers.

