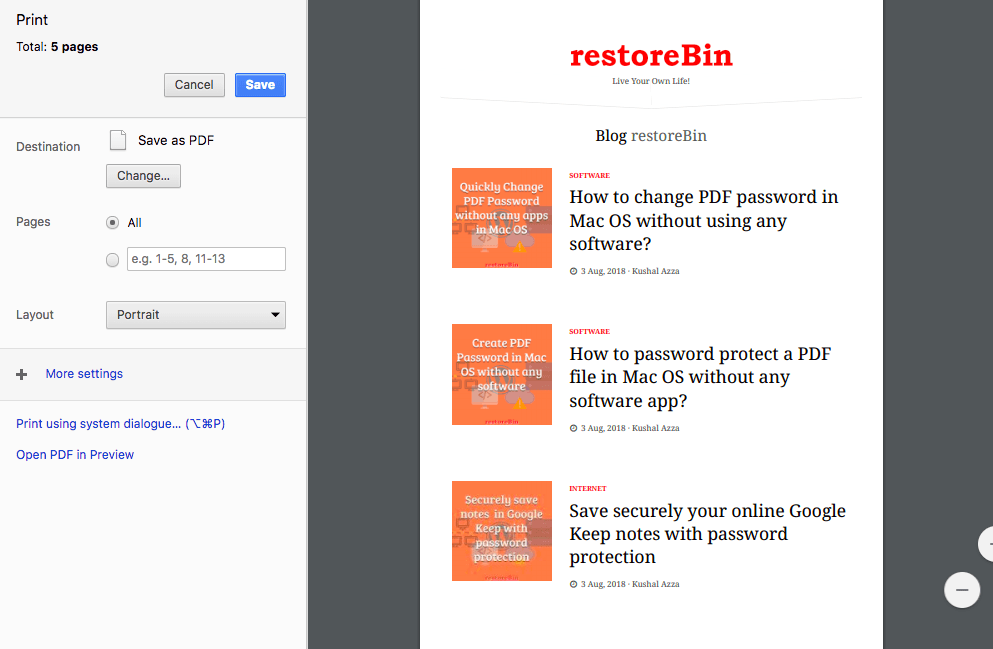
I was trying to print one of my blog posts, but it did not appear quite aligned. There were a few elements that appeared either broken or not proper in the print preview mode. Hence, I thought of making the webpage printer-friendly by hiding unwanted elements.
That’s when I disabled the top navigation bar, footer widgets, social links, and a few other items that I felt were useless in print format.
Hiding the element was super easy and did not affect the actual website look. The changes will only be applicable when we give the print command.
All you need is access to a CSS stylesheet used for front-end designing and a browser with developer mode (I use Chrome browser). I’m using WordPress CMS, which has a straightforward yet powerful editor editing CSS files within the browser.
Let’s get started with the demo and procedure; I think you are already set with the prerequisites mentioned.
Make a webpage Printable using CSS
I believe every CMS has some or the other way to edit the CSS stylesheet file. For WordPress CMS, access the Editor option under the “Appearance” tab.
At the end of all the existing code, copy-paste the below snippet.
.... some existing code...
@media print {
}
The next step is to find the element class to be hidden. Let me take the straightforward example of hiding the social share bar.
Step 1: Go to any blog post and hover the mouse on the “share-bar” icons.
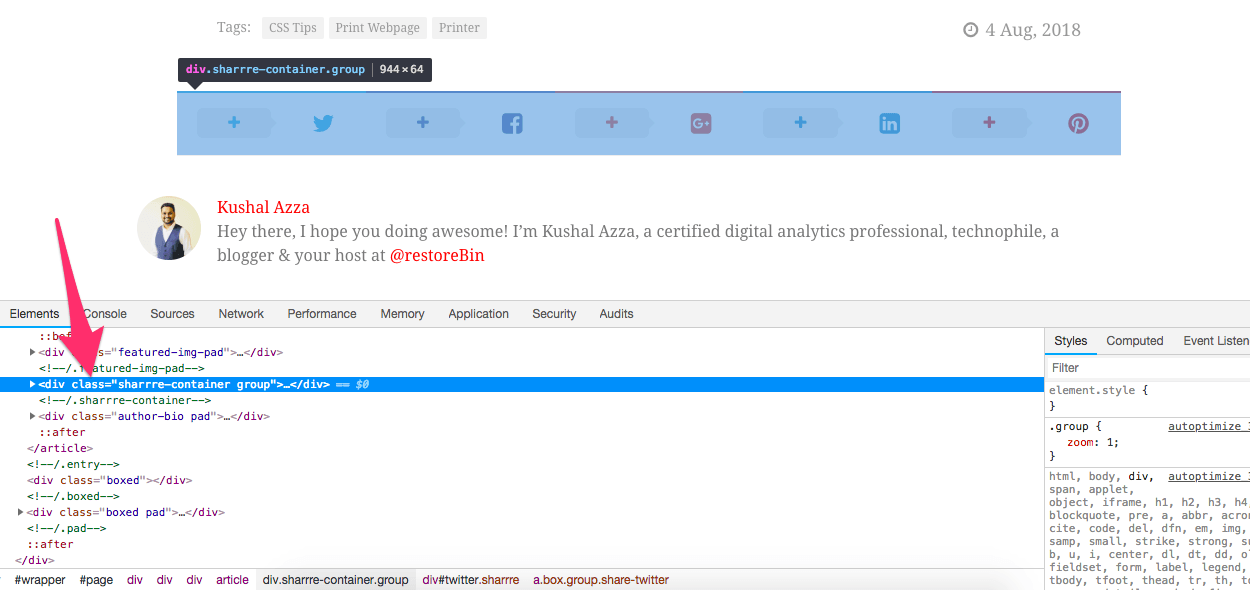
Step 2: Right-click and select the option “Inspect element.” The browser will invoke the developer options, and a small window will appear.
Step 3: Select between the line of codes under the “Elements” tab such that the entire share bar is highlighted on selection.
Step 4: Note down the class of the selected share bar. Let’s say it appears as <div class="sharrre-container">...
Step 5: Copy the class and paste it into the mentioned snippet code with the display element set to none.

Step 6: Hit the button, and watch the effect of the changes on the live site by hitting a print command.
In the above example, the final code after adding the sharrre-container class should look like this:
... some existing code...
@media print {
         .sharrre-container {
               display:none;
         }
}
Make sure that @media print has its own opening and closing curly brackets { ... }. Also, each class has its own curls.
Similarly, you can inspect all other elements and hide the unwanted widgets from appearing in the printable format.
The final output will be available once you update the CSS code, hard refresh the blog post, and try to print the webpage again.
Video on how to make webpage printer friendly
The above code snippet sounds quite complicated, but it’s not. However, I’ve captured a part of the screencast on hiding the YouTube video whitespace to make it understand easily.
I hope the video helped with understanding the basics. Similarly, you can inspect other elements and hide them using the display: none; tag.
What did you think about this?
I added the code snippet and hid all unnecessary elements class and div to make my blog printer-friendly.
You can even try + (in Mac OS) or + (in PC) to see how this post appears in print preview mode. And feel free to print and save it as a password-protected PDF file on your local machine.
Drop in the below comments if you are facing any challenges; happy to help!
F.A.Q: Web page print-friendly
We have listed some of the frequently asked questions related to making the webpage printer-friendly and hiding the unnecessary elements:
How can we hide the elements on the print preview page?
As a Webmaster, we can customize the CSS code to hide the elements or tags from appearing in the print preview mode. Use @media print {…} to set the element or class ID to the ‘display:none’ tag.
Does hiding the elements on the print preview also hide on the original page?
No, the elements present in the @media print {} tag will be hidden only on the print option but not on the main site.
Can we hide the class ID in the media print tag?
The media print tag supports all the elements and class IDs to add ‘display:none’ to hide from the printing page.


